Thursday, 26 February 2026

More Fire & Fury

I slightly rearranged the terrain for another bash at my Fire & Fury 'fight for the crossroads' scenario. This time it was Tony who donned the Confederate grey of 'Old Pete' Longstreet while I retained command of two divisions of Porters Union V Corps.

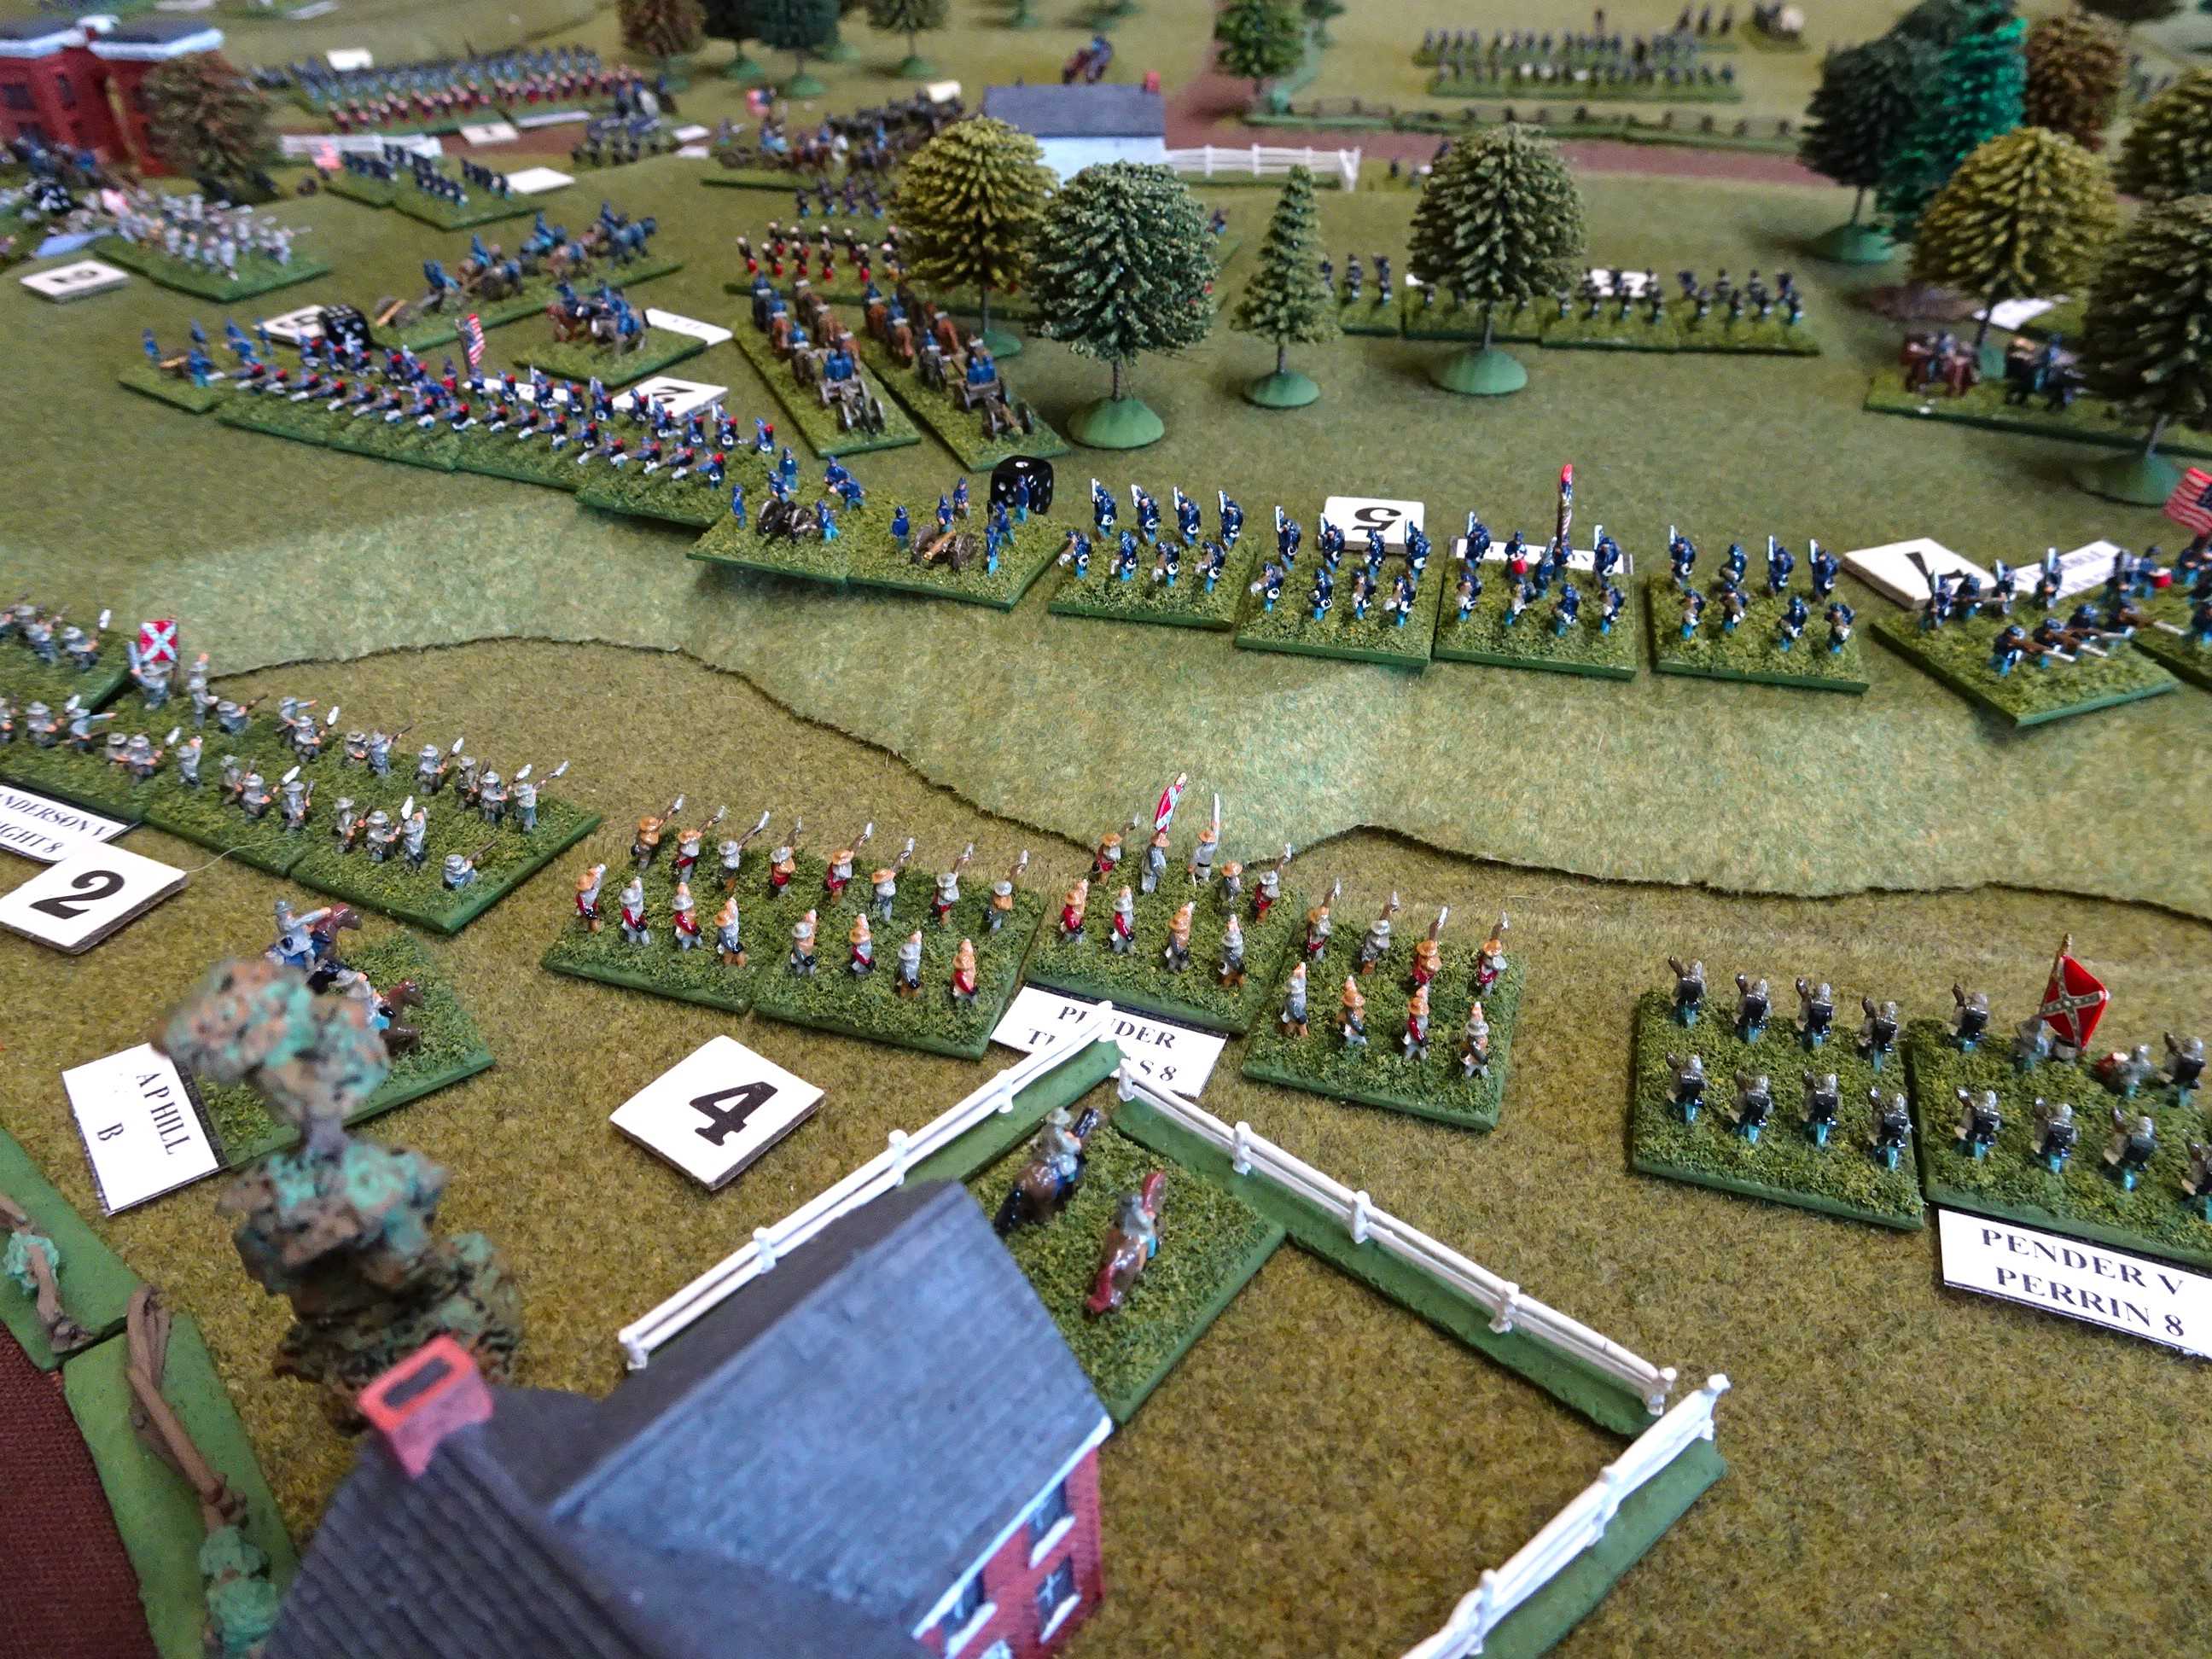
The table - looking pretty similar to the last game but with the addition of some newly painted buildings.
The view from behind the Union left flank.

I got my lads moving forward whilst willy 'Old Pete' hung back to see how things developed.

My Zouaves seek the cover provided by the central wooded hill.

Meanwhile the Tigers occupy the road junction.

Buford's troopers arrive hoping for a better showing than they did in the previous game. Waiting for them at the end of the road are Ashby's dismounted cavalry.

Tony keeps his right flank refused - for the time being.

I shake out a battle line for an attack on the crossroads.

'The sweepings of the Louisiana water front'  Rob Wheat's Louisiana Tigers.

Buford's boys have sensibly dismounted and are using the extra effectiveness of their carbines at long range to annoy Ashby's men.

My attack goes in at the crossroads. The casualty marker denotes that the unit is disordered.

My Zouaves emerge from the tree line hoping to flank the Tigers.

Over on my right flank there are reserves arriving - unfortunately the Rebs have some as well, marching along the road in the distance.

Buford closely engages his nemesis Ashby but it was Buford once again who was forced to retreat!

On my left things have gone horribly wrong! Tony's men rush forward and with a Rebel Yell, sweep my men away capturing two batteries in the process.

On the right, the Iron Brigade deploy and are already disordered - not quite as iron as I had hoped.

But we push on...

...although in the centre my attack has been repulsed.

Tony's men have broken my left flank...

...and pushed right up to the cemetery gate!

The Irish surge forward - begorrah!

Charge and counter-charge as troops swirl across the fields.

Longstreet is moving to flank me in the centre.

That swirling melee from the Rebel perspective.

The table near the end of play.

The Confederates push in my centre and it's game over with an impressive win on points for Tony.

Another great little game and I'm really getting to like these rules (the original version) as I think they have a realistic back-and-forth Civil War feel. For now though the troops must return to their storage boxes while I turn my attention back to painting 20mm Napoleonics.

Sunday, 15 February 2026

15mm ACW project complete!

I have just completed painting the last few figures for my 15mm Fire & Fury project - it has only taken me 30 years. To celebrate I invited Goya over for a game.

Rebs on the left, Union on the right - the road junction in the centre of the table is the objective.
The Union start the game with three brigades and two batteries deployed.

The Rebs have the same.

We wasted no time getting stuck in with both sides advancing rapidly.

My Zouaves got a run out in this game.

A clash in the woods which became a bit of a see-saw fight. We discovered that while brigades remain 'fresh' nothing too dramatic tends to happen.

Buford's cavalry make it onto the table for their first ever fight. The house is a rather nice 3D print from the Battle Honours range.

Confederate reinforcements start to arrive.

The action in full flow with brigades attacking, being pushed back and attacking again.

Ashby's Reb cavalry appear and, sneakily avoiding my own cavalry, ride and dismount on the flank of one of my infantry brigades helping to push them back.

They then mount up and charge my dismounted troopers at the crossroads with a 'Swept from the field' result!

Fortunately I have infantry reserves arriving.

The action is now general along the whole table. At this point Goya had to leave so I carried on solo for another three turns.

I was hampered by some poor die rolls on the 'Maneuver' table that slowed the deployment of my reserves.

The Confederates were now firmly in control of the crossroads.

With artillery up in the front line...

Their position looked unassailable.

That's it - Chapman's brigade skedaddles and it's game over!

Now we have more or less mastered the rules I hope to play a few more of these.

Saturday, 7 February 2026

More Horse Soldiers

So I decided to complete my forces by adding a Confederate cavalry unit. These are more of the excellent AB Figures sculpts all based for Fire & Fury.

Mounted figures on 6 stands of 2 figures each.
Dismounted version on 5 stands plus a horse holder.

This just about wraps up this project except for a few terrain items I want to paint.

Friday, 12 December 2025

Horse Soldiers

I've had some 15mm ACW cavalry figures in the lead pile for fifteen plus years, bought for my stalled Fire & Fury project. They are very nice castings from AB Figures and I thought it was time they got some attention.

Six Union cavalry stands based for Fire & Fury.
When dismounted one stand becomes a horse holder.

There are some more in the lead pile that might just see the light of day as Confederates.


Sunday, 2 November 2025

Rifle Brigade

I bet you thought this project had ground to a halt eh? Well, I guess it sort of has but I did manage to knock out this unit to represent part of the Light Division.

This is the same Pendraken figure as used for the previous unit but as they are representing rifles I didn't fiddle around adding bayonets.

I also painted a Divisional Command stand. I thought two mounted figures on a base would work well for this and it's also the way these are represent in the 6mm ACW armies.

These figures are from the Napoleonic Austrian range. I had to change the hat to the fore and aft position but otherwise it is a simple paint job conversion.

I do have more units in mind but it all comes down to available time whether they will get compeleted.

Saturday, 19 July 2025

Off on a tangent

So first up, this has nothing to do with the American Civil War but it's a period I have always wanted to have a go at - the Crimean War. In some ways I guess I could claim there is a bit of crossover as the two wars were fought only a few years apart.

These 10mm figures are nice little sculpts although for some reason this pose was modelled without bayonets so I had to add some using staples.

For instance, George McClellan was present at the siege of Sebastopol as an observer and this experience was said to have influenced his decision to lay on a full scale siege of Yorktown in 1862. The minnie rifle (used with deadly effect in the Civil War) made it's first battlefield appearance in the Crimea with British troops being issued with it just a few weeks before the Battle of The Alma. Also, it doesn't take much of a stretch of imagination to think that at least some British troops in action in the Crimea may have later taken part in the ACW, especially in the Irish brigade.

The idea is to have a unit represent a brigade just as with the ACW armies. The British only has 9 infantry brigades at The Battle of the Alma so this is doable.

The troops I intend to use for this project are 10mm figures by Pendraken Miniatures. I've looked on and off for years for a decent range of 20mm figures but they don't exist, not with a sufficiently wide range anyway. This scale does at least make it feasible to collect and paint enough troops without breaking the bank and I already have plenty of useful scenery.

My last attempt at this period only got as far as this 1/72 plastic version of the Light Brigade before lack of figures coupled with a lack of enthusiasm caused it to peter out.

We'll see how far I get this time.

Wednesday, 5 June 2024

Gettysburg Solo Turns 39-46 (Pickett's Charge)

Historically there was very little activity during the morning of July 3rd so the game begins again at 1.00pm (turn 39).

Lee has ordered every available artillery battery forward to commence a bombardment of the enemy line on Cemetery Hill. To reflect the historical shortage of ammunition the Confederates will not be able to resupply their guns giving each battery just six rounds of firing.
Some Union counter-battery fire has landed a couple of lucky hits reducing the SPs of two of the Rebel batteries and blowing up some of their precious ammunition.
At 2.30pm Lee issued an order to Pickett to begin the attack however another failed activation die roll meant that this did not commence until 3.00pm. Pickett supported by Heth begins the long approach to Cemetery Hill over ground raked by the Union artillery.
The Confederate artillery fire has started to take effect on Hancock's men and he orders the supporting brigades forward to relieve the first rank of defenders.
Pickett's men are almost at the Emmitsburg Road...

Cemetery Hill is bristling with Federal bayonets!
By now the Union gun-line is running short of ammunition so Meade orders every battery he can find forward in support of Hancock.
The Rebs are in rifle range now and both sides engage in a dealdy firefight.
The Union line is under extreme pressure and Willard's brigade (left foreground) have become shaken. The guns here are down to their last round.
Pickett leads Armistead forward and with a Rebel Yell they crash into Willard and send his men running. Pickett exposed himself to personal danger in the process but the dice were with him.
This is a crisis point for the Union - the Rebs are on Cemetery Hill.
To the left of Armistead, Garnett has been forced back and replaced by Pettigrew (Heth's division). These are the same men who fought so hard at the Seminary on day one and are now reduced to just 1SP. 
A P Hill's men have now come up in support on Pickett's right at the Codori House and are hotly engaged with Sedgwick's relatively fresh VI corps.
Here at least the Federals are having some success and A P Hill is held at bay.
But to their left both Hall and Ruger have been routed to join what is rapidly turning into a Union stampede. The Confederates are swarming over Cemetery Hill.
Armistead now takes out a second brigade (that of Webb) despite being down to just 1SP.
The Union position by the Cemetery is falling apart.
Armistead moves on the flank of a third Union brigade!
Lee rides forward waving his hat - there are seven Confederate brigades on Cemetery Hill and the Union troops are in full retreat.
The situation on Cemetery Hill at the end of play - turn 46.

I had said that to win decisively the Confederates had to occupy Little Round Top, Cemetery Hill and Culp's Hill but I did also have a secondary VP objective. Each army had a demoralisation level (the number of simultaneously broken infantry brigades at which the whole army would break) of 9 for the Union and 7 for the Confederates. The DEM level for the Union was reached at the same moment that the Rebels swarmed over Cemetery Hill and it seemed only right to award them the victory! 

Whether this victory would actually end the war is another matter as the Confederate army is pretty much spent whereas the Union V and VI corps still have some fighting strength left. However, I have to say, much to my surprise, Lee has carried the day.

Conclusion

This certainly has been an epic game and I doubt very much that I would ever try a solo game this big again. It has been fun though and the rules certainly provided plenty of thrills and spills. It did take me a while to get the rules flowing smoothly as I had forgotten a couple of key points, one quite crucial that probably gave the Union a worse time of things on day one than they should have had.

That's it, I hope you enjoyed it - now to pack everything away!